Vegetarian Lasagne

Today I’m going to share a great vegetarian lasagne recipe I found in an old Australian Healthy Food magazine.

We have just returned from a quick get-away in Melbourne. The food at all the little cafés and restaurants is always great.

We went to this out of the way little Italian place and had the best lasagne and tortellini. Though these were not vegetarian dishes it did remind me of this recipe and I thought I would share it.

This Vegetarian Lentil and Ricotta lasagne is full of flavour, quite filling and is a great way to get more vegetables into your diet. I halved the below recipe and it fed 2 people for 2 nights.

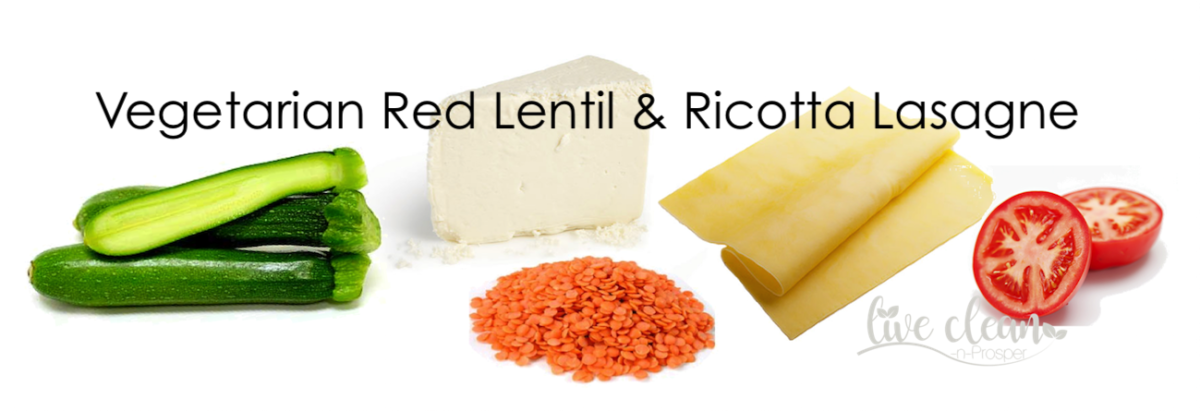
Vegetarian Red Lentil and Ricotta Lasagne.

Ingredients

½ cup red lentils

2 teaspoon Olive oil

3 garlic cloves – crushed

1 large onion – chopped

1 small red capsicum (**I left this out as we don’t like capsicum)

**I added sliced mushrooms instead

2 zucchinis – sliced

1 stalk celery – sliced

2 x 420g cans diced tomatoes

2 tablespoon. tomato paste

1 teaspoon dried oregano

1 ½ cups ricotta cheese

12 lasagne sheets (I use Gluten Free sheets)

½ cup grated cheddar cheese

¼  cup grated parmesan cheese


White Sauce ingredients

1/3  cup corn flour

3 cups milk

½ teaspoon ground nutmeg

¼ cup grated parmesan cheese


Method

*Preheat oven to 180 c.

*Rinse the lentils then put them in a pan with enough boiling water to cover them. Simmer for 30 minutes then drain.

*Heat oil in a large pan and add garlic & onion. Cook for approx. 2 minutes. Add the celery, capsicum and zucchini and cook for 2 -3 minutes.

*Add lentils, tomatoes, tomato paste, oregano and 1 ½ cups water. Bring to the boil, then reduce heat and simmer for approx. 30 minutes.

*Meanwhile make the White Sauce.

*Mixing the corn flour with 2 tablespoons of milk until smooth. Pour into a saucepan with remaining milk and stir over low heat until the mixture thickens. Add the nutmeg and add pepper to taste.

*Put the ricotta into a bowl and mix in ½ cup of white sauce.

*Spread a layer of tomato lentil mixture over the base of your lasagna dish. Then put a layer of lasagna sheet. Add another layer of tomato lentil mixture and top with a layer of the ricotta mix.

*Keep layering the lasagna sheets and then tomato and ricotta layers till done.

*Pour over the white sauce and sprinkle with the grated cheeses.

*Bake for an hour, covering with foil if the top starts to brown too much.

Let it stand for about 5 minutes before slicing and serving.

Enjoy.

Till the next post,

Live Clean and Prosper

Slow Cooker Osso Buco – recipe

Today I’m sharing a favourite recipe – Slow Cooker Osso Buco.

We are back from our road trip holiday which was spent mostly in the warmer North Queensland. It is definitely cooler here in the South East.

At this time of year, we generally use our slow cooker a lot more to make some lovely winter warmer casseroles. One of our favourites is Osso Buco.

Not only does the slow cooker method save time, it also keeps so many nutrients in the dish. Making this style of cooking so much healthier.

It is a very simple, nourishing dish that is so easy to make, so today I thought I would share our recipe.

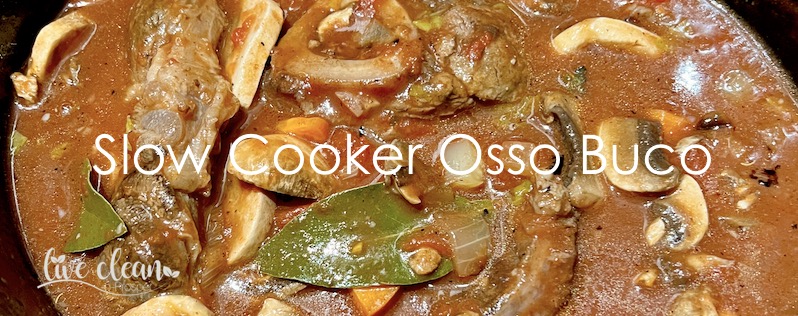
Slow Cooker Osso Buco

Serves 4

Ingredients

1 tbsp olive oil

4 slices of beef osso buco (approx. 800g)

1/2 large brown onion, diced

1 stick of celery diced

3 cloves garlic, crushed

2 medium carrots, peeled and diced

4 mushrooms sliced

1/2 cup red wine

1 400g can crushed tomatoes

2 tubs Continental Beef Stock Pot Sensations

4 sprigs of thyme

3 bay leaves

Method
  • Heat oil in a non-stick frypan over medium high heat. Add the slices of osso buco and sear until browned on both sides. Transfer into the slow cooker pot.
  • Then add the onion, celery to the frypan and cook until soft and translucent, about 5 minutes. Add the garlic and cook for another minute, adding a tbsp or 2 of water to the frypan to loosen up the mix and add the lot to the slow cooker pot.
  • Then into the pot goes the diced carrots and sliced mushrooms
  • Followed by the canned tomatoes, wine and the stock, then stir to combine. Add the bay leaves and thyme sprigs.
  • Cover and cook on high for 4 hours or low for 8 hours. or until the meat is tender and falling off the bone.
  • Discard sprigs of thyme and bay leaves.
  • Serve with mashed potato or rice and steamed green vegetables. Sprinkle fresh parsley on top prior to serving, if desired.

Cheesy Cauliflower Curry, a recipe

Today I’m sharing a favourite recipe – Cheesy Cauliflower Curry.

This last week has been so busy with work and other commitments, I’m glad I got back into meal planning. It was really helpful having meal ideas bookmarked, knowing that all the ingredients were in the fridge and pantry.

The original recipe for this dish comes from a book called ‘The Inspired Vegetarian’, that I received from a very dear friend.

We are still endeavouring to eat more of a plant-based diet. So with that in mind, this is an easy recipe to create and is a repeat winner according to Scott. Though not good for anyone on a ‘dairy free’ diet, it is a very tasty dish and quite filling.

As per his suggestion, I am sharing it with you today.

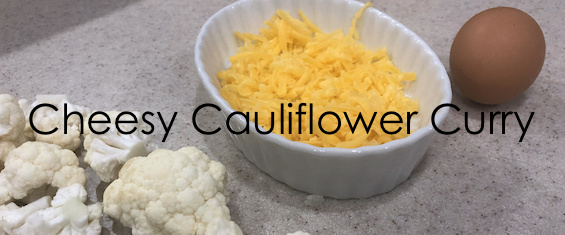
Cheesy Cauliflower Curry

Serves 4

Ingredients,

1 medium sized Cauliflower, cut into small florets.

1 medium onion, diced

2 eggs, hard-boiled and chopped

3 tbsp plain, gluten free flour

2 tbsp margarine or butter

1 tsp curry powder (I used 2)

2 cups milk

100 g grated cheese

½ tsp thyme (I used fresh thyme)

1 tbsp chopped fresh parsley

2 tbsp of toasted pepitas (or if you prefer – a handful of ‘soup croutons’ )

Method

*Sauté the onion and put aside into an ovenproof dish.

*Steam the cauliflower till just tender. Drain and add to ovenproof dish, mixing with the onion.

*Scatter over chopped egg.

*Put flour, curry powder, butter into a saucepan and mix well.

*Slowly add milk, mixing till the sauce thickens.

*Add chopped herbs and allow to simmer for a minute or two, to allow the flavours to develop.

*Remove from Heat and stir in ¾ of the cheese.

*Pour the sauce over the cauliflower mix and sprinkle with remaining cheese.

*Scatter the pepitas (or croutons) over the top and put the dish in the oven under a hot grill until golden.


We ate this as a main meal, however it would also work well as a side dish.


I hope you enjoy this dish as much as we do.


Till the next post,


Live Clean n Prosper